

We made a start on phase two, which coincided with the starlings nesting in the little rock wall again this year. We were mindful of their presence and tried hard not to disturb them too much ~ they were quick to point out when they thought we were getting in the way of them feeding their babies! There are lots of nooks and crannies for them in the wall but there were nesting in the same section as last year, behind the plant just below the starling which I think is called herb robert. It is a delicate-looking, pretty little plant that grows all over our garden like a weed. I leave it to do it's thing until it tries to take over, then I have a cull ~ it's easy to pull out, thankfully! Ignore the dead sticks of the verbena hastata Pink Spires with it, I hadn't got round to tidying the border before the starlings moved into their temporary home 😄

To further help with the awkward slopes in the ornamental garden, phase two of the project consisted of putting in a path running alongside them. This time we were able to get hold of new sleepers and were lucky that we bought them when we did as the price increased quite substantially the following week!

Adrian decided to order 20; we knew they wouldn't go to waste because there is still lots of work to be done out the back.

On the left of the photo above, you can see how much higher the ground is. Working on the original border was particularly uncomfortable here because of the steepness in this area.

This was one of the two reasons that we decided to amend our landscaping plans ~ more on that when I share phase three with you 😉

At a quick glance, the blue tarpaulin looked like a small swimming pool 😄 The pile of very rubbly soil in the middle is from the soil mountain out the back, which has come in useful to help level out the sleepers ~ no sieving required for that job!

Our "swimming pool" did have a purpose, as you can see. We ordered four, one ton, bags of stone chippings, two of them lifted onto this side of the garden and the other two onto the kitchen garden side for use later. The stone chippings themselves aren't terribly expensive, it's having to have them craned into the garden that bumps up the price, hence us getting four bags delivered.

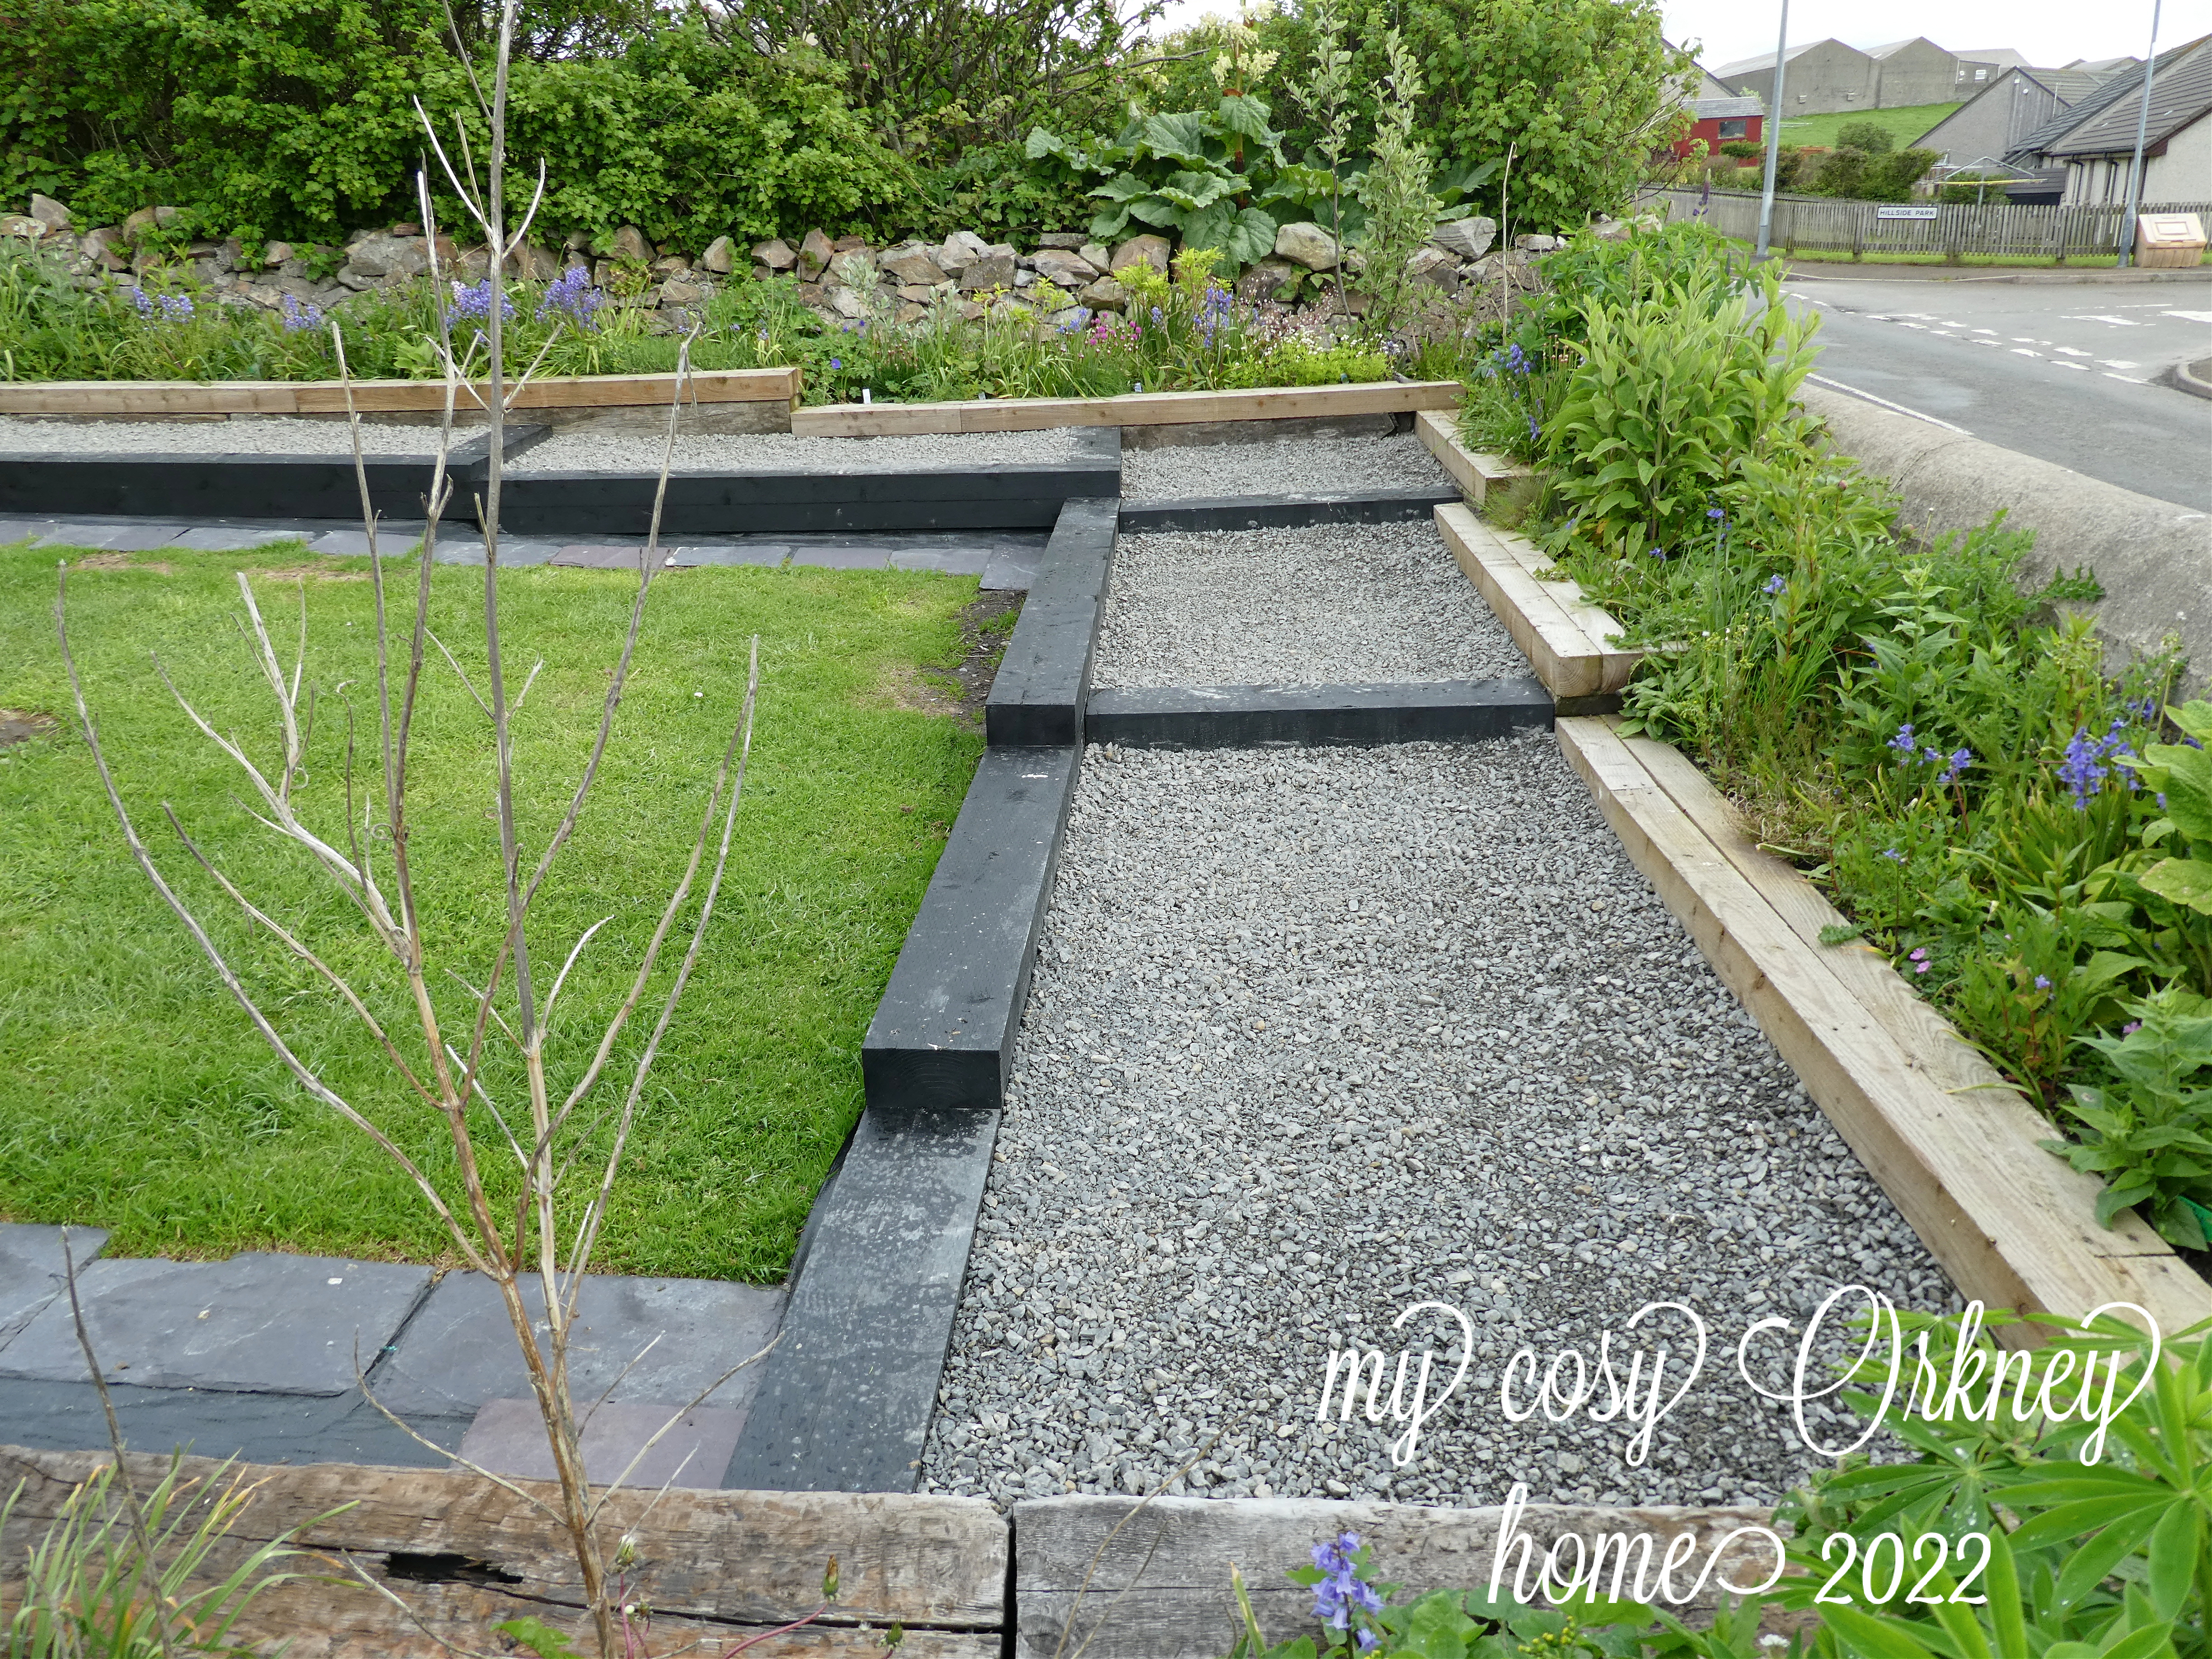
This time we started from the top and worked our way down the garden.


It looks absolutely beautiful. Fab job all round. Im going to go back and see the before pictures now xx
ReplyDelete